ElectroCicla
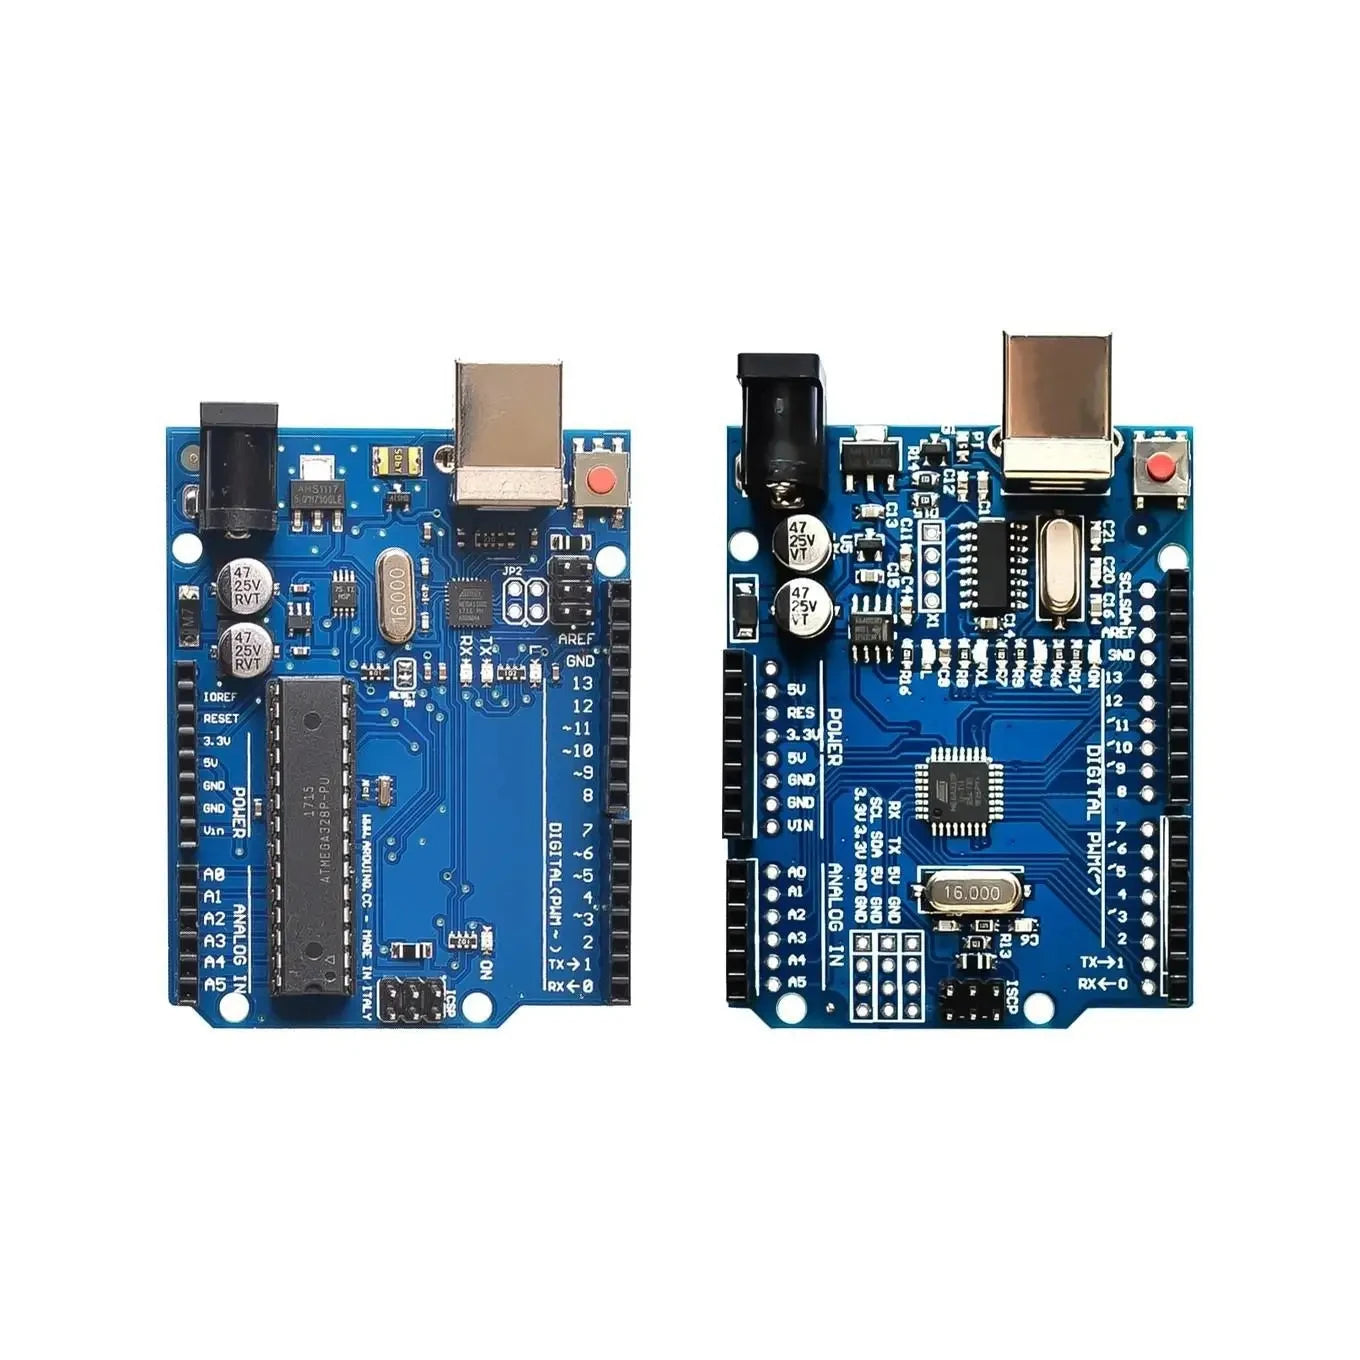
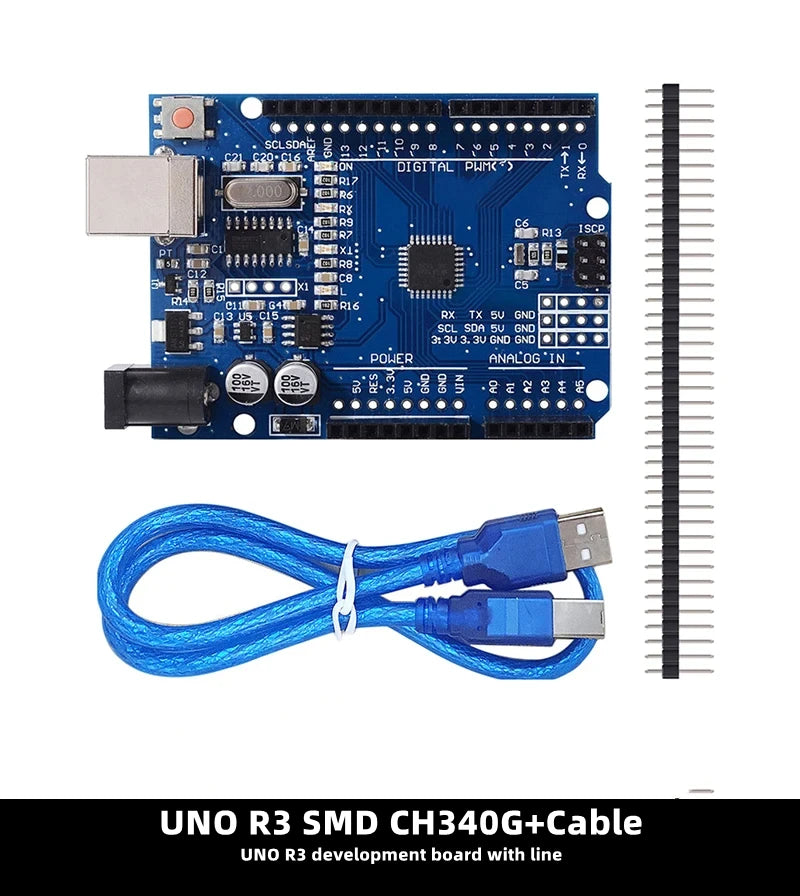
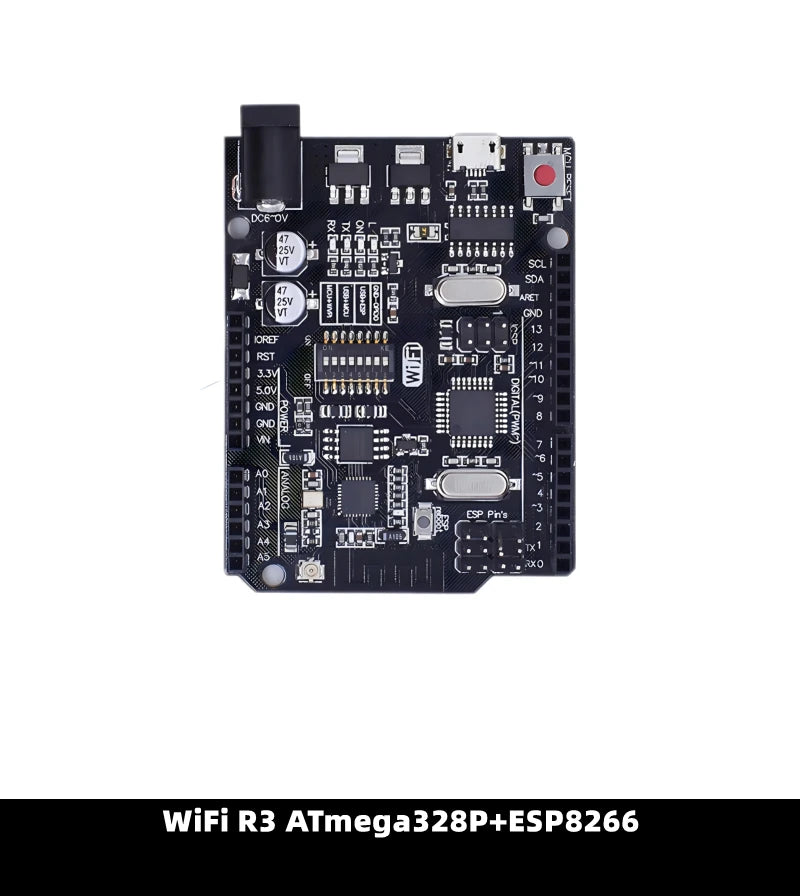
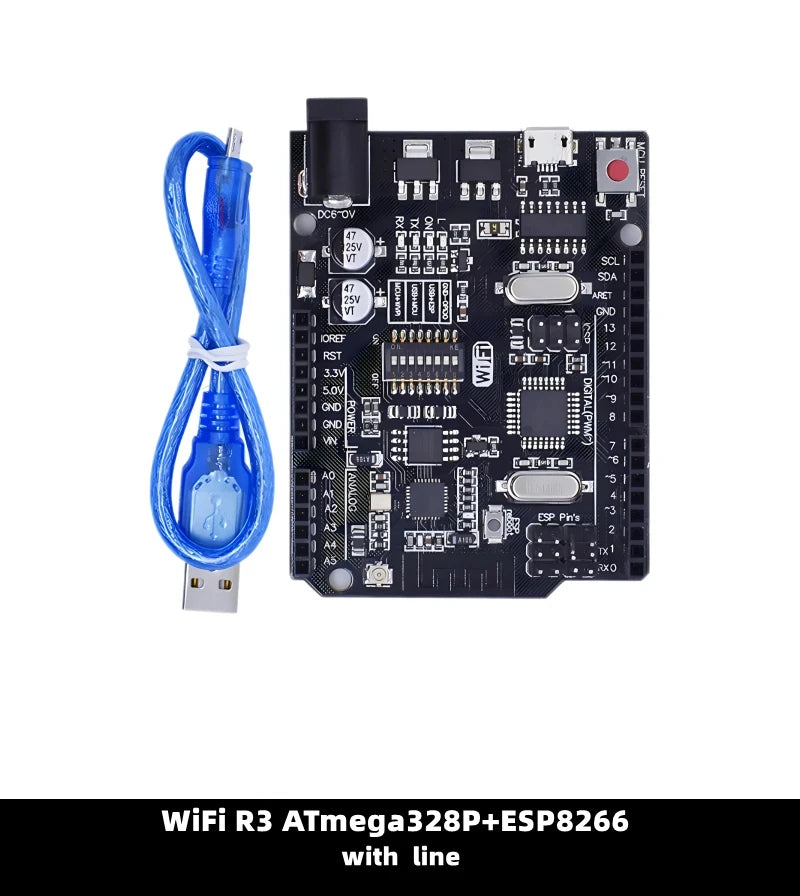
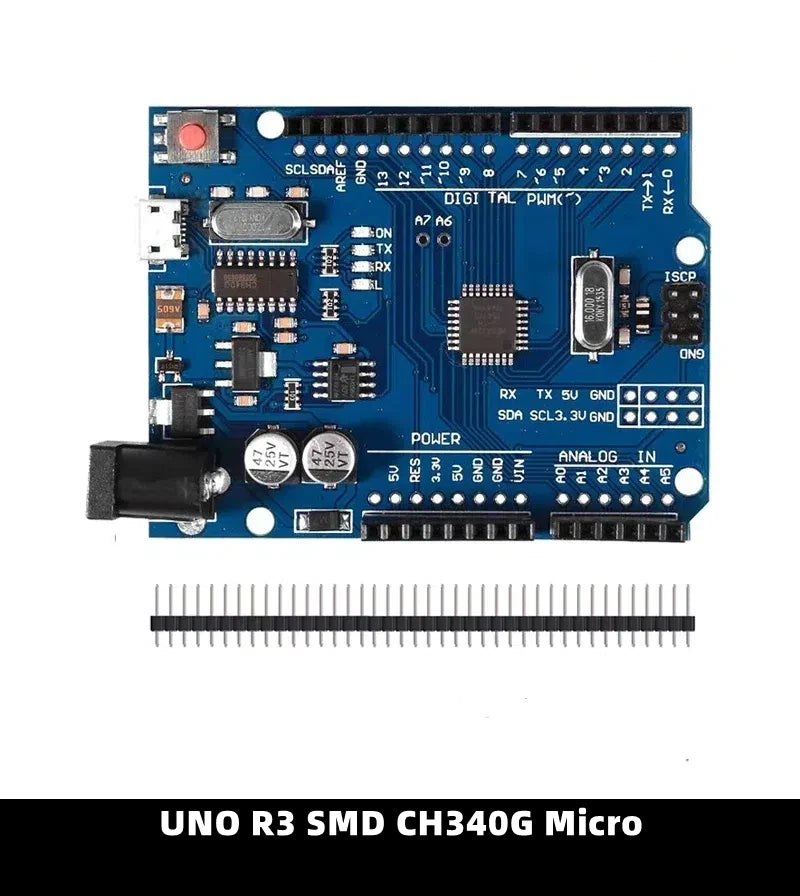
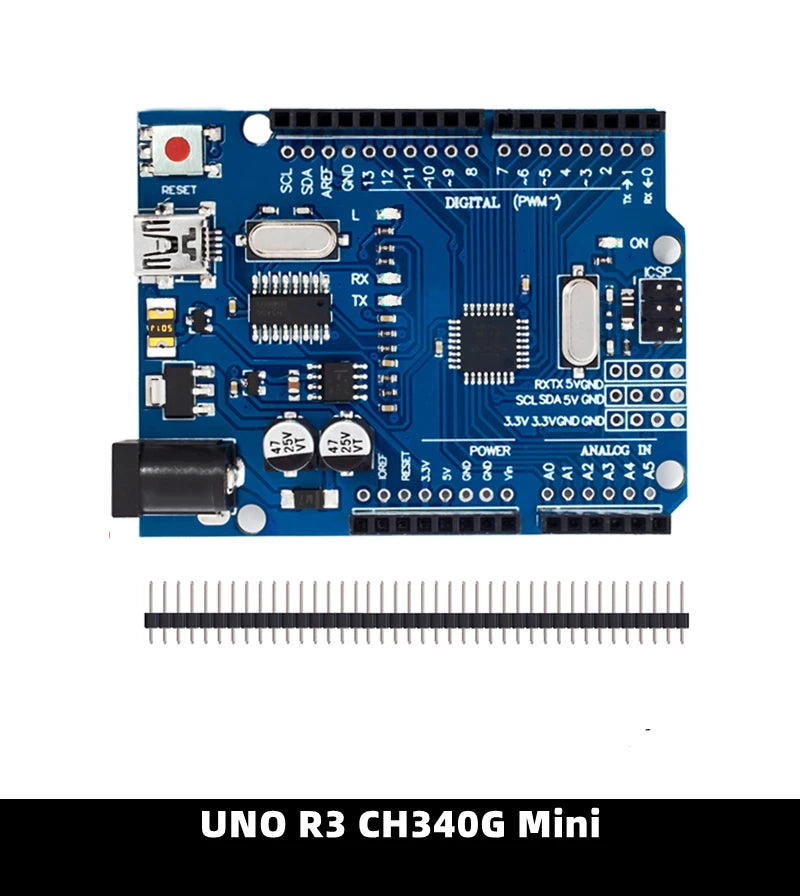
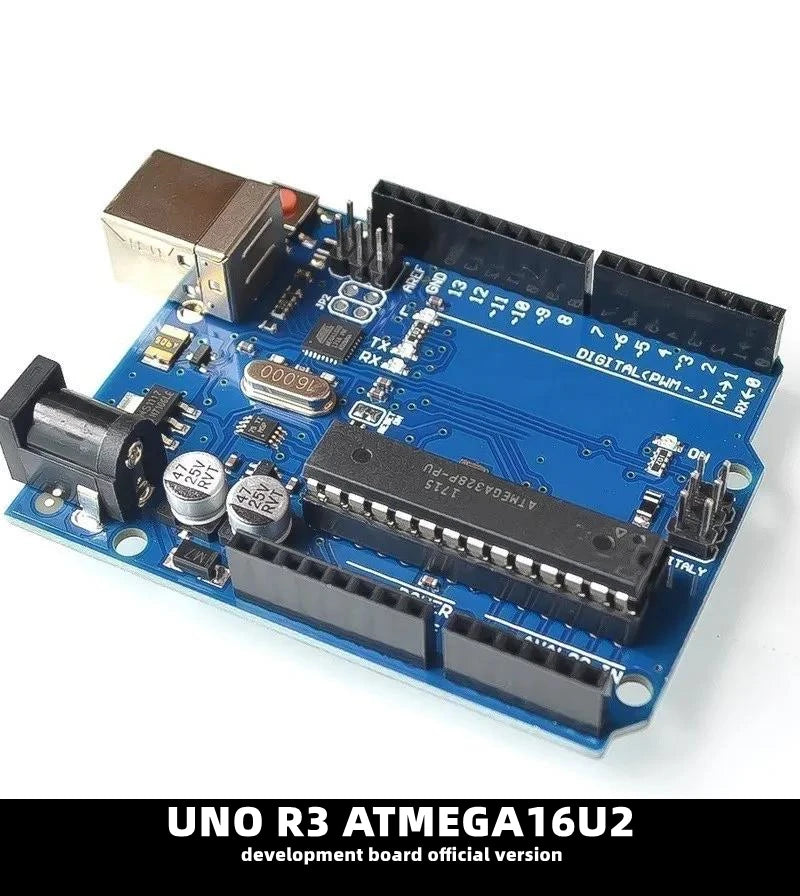
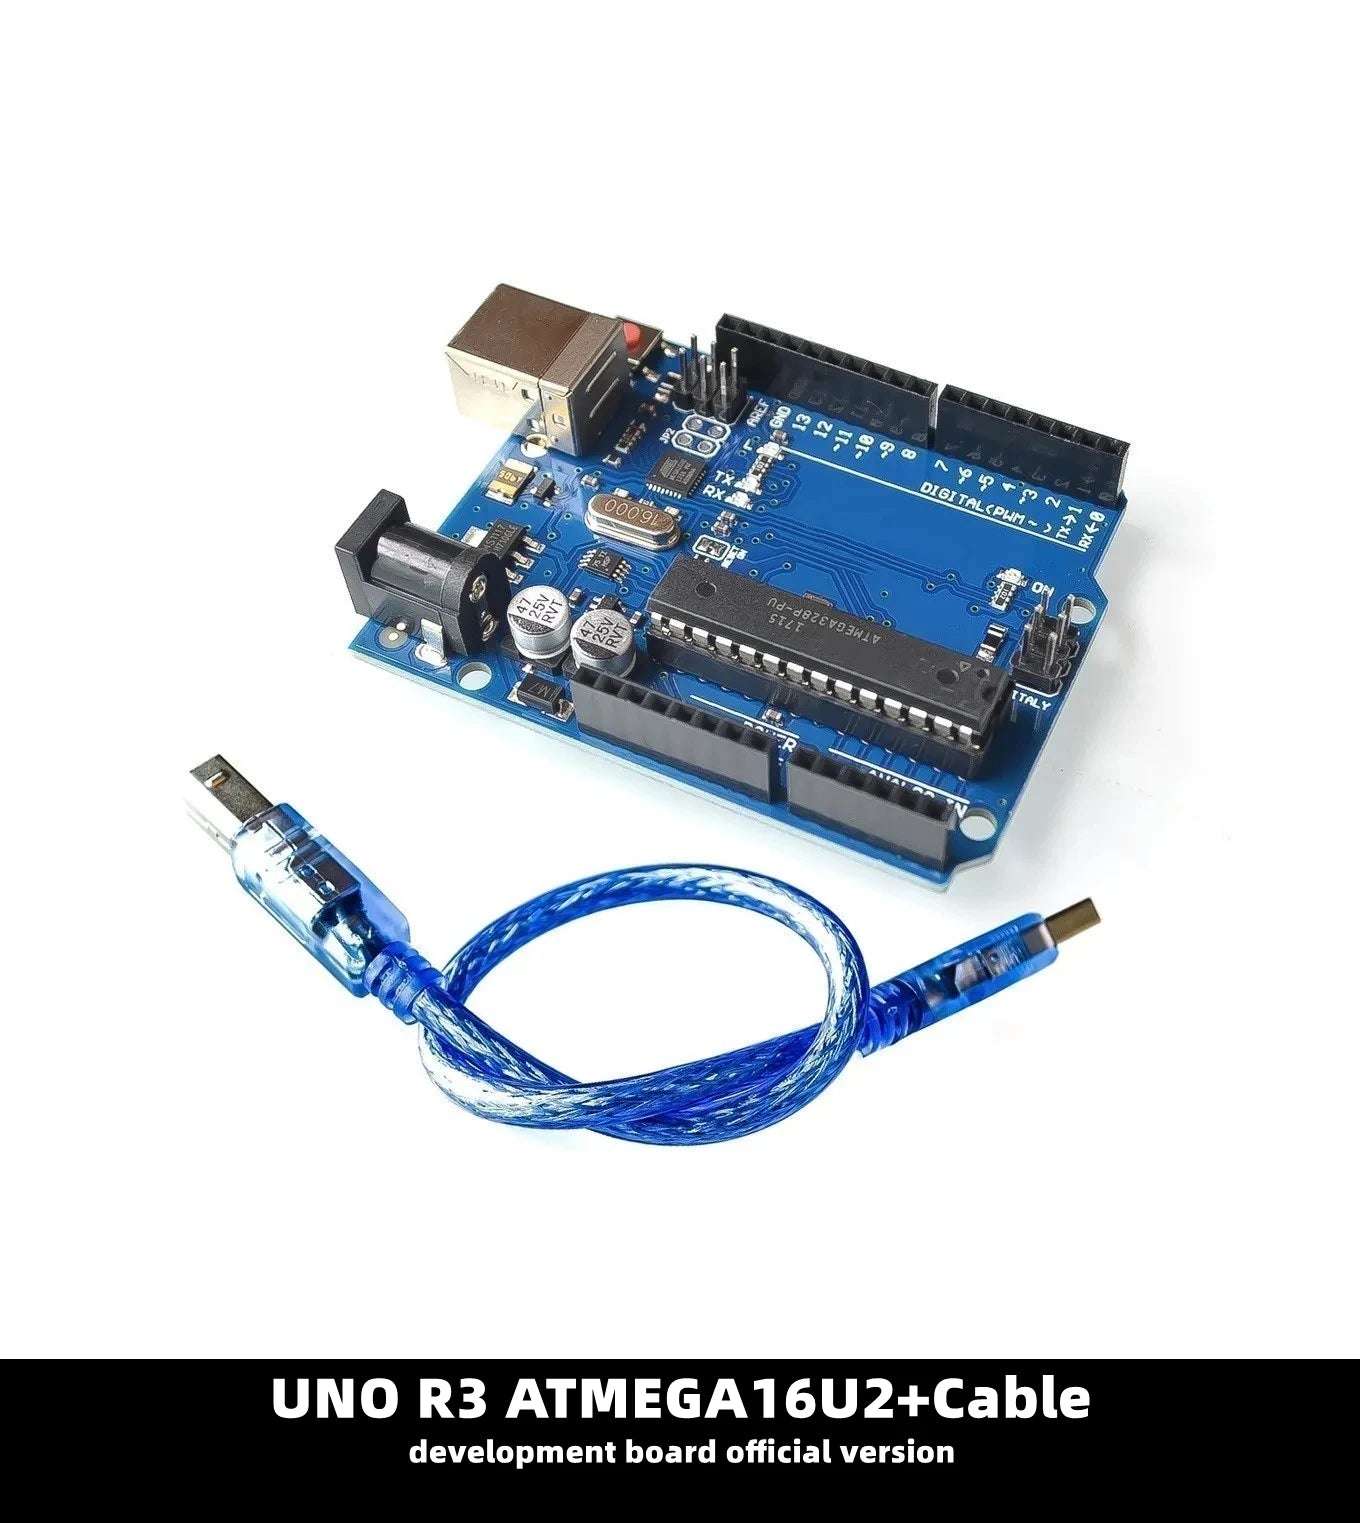
Placa Desarrollo UNO R3 (Oficial ATMEGA16U2 / WiFi R3 ATMEGA328P CH340G) compatible WeMos ESP8266 (con Caja)
Placa Desarrollo UNO R3 (Oficial ATMEGA16U2 / WiFi R3 ATMEGA328P CH340G) compatible WeMos ESP8266 (con Caja)
No se pudo cargar la disponibilidad de retiro
SPECIFICATIONS
Application: Arduino UNO R3
Brand Name: NoEnName_Null
Choice: yes
Condition: New
Dissipation Power: 3.3V-5V
Hign-concerned Chemical: None
Operating Temperature: -40℃ ~ +85℃
Origin: Mainland China
Package: Module
Supply Voltage: 3.3V-5V
Type: Voltage Regulator,Arduino UNO R3
is_customized: Yes
semi_Choice: yes
[xlmodel]-[photo]-
On the board where the switch of mode of operation with 8 position
Switch status and mode selection:
1 |
2 |
3 |
4 |
5 |
6 |
7 |
8 |
|
CH340 connect to ESP8266 (upload sketch) |
OFF |
OFF |
OFF |
OFF |
ON |
ON |
ON |
NoUSE |
CH340 connect to ESP8266 (connect) |
OFF |
OFF |
OFF |
OFF |
ON |
ON |
OFF |
NoUSE |
CH340 connect to ATmega328 (upload sketch) |
OFF |
OFF |
ON |
ON |
OFF |
OFF |
OFF |
NoUSE |
Mega328+ESP8266 |
ON |
ON |
OFF |
OFF |
OFF |
OFF |
OFF |
NoUSE |
All modules work independent |
OFF |
OFF |
OFF |
OFF |
OFF |
OFF |
OFF |
NoUSE |
After choosing the mode of the board can proceed to setting up the IDE
It is important that when the ESP8266 module is programming, it is necessary to press the button “ESP Reboot”
To begin open the Arduino IDE programming environment and go to settings
Then go to the Tools> Board> Boards Manager
In the window that appears, scroll through the list down to the script esp8266 by ESP8266 Community and click.
In the lower right corner will be able to select the version of the software, select the version 2.1.0 (the newest) and click the Install button
After installation, close the window and go to Tools> Board and see the list of available devices on the chip programming ESP8266
Next, you need to select the card as shown in the picture (Generic ESP8266 module)
Select the upload speed - 115200
==========test sketch===========
void setup()
{ Serial.begin(115200);
pinMode(14,OUTPUT);
delay(500);
Serial.println("AT+CIPMUX=1");
delay(2000);
Serial.println("AT+CIPSERVER=1,5000");
delay(2000);
Serial.println("AT+CIPSTO=3600");
delay(2000); }
void loop()
{ while(Serial.available())
{ char Rdata;
Rdata=Serial.read();
if(Rdata=='A'|Rdata=='a')
{ digitalWrite(14,HIGH);
delay(50); }
else if(Rdata=='B'|Rdata=='b')
{ digitalWrite(14,LOW);
delay(10);
digitalWrite(14,HIGH);
delay(10);
digitalWrite(14,LOW); }
else
{ digitalWrite(14,LOW); } } }

Compartir
